
5 Reasons Why You Shouldn’t Use a Page Builder & Better Alternatives in 2025
Page builders promise the world: beautiful, custom websites with no coding required. For millions of users, they deliver on that promise. But is there a hidden cost to all that drag-and-drop convenience?
In this guide, we’re taking an honest, in-depth look at page builder apps. We’ll go beyond the marketing hype to explore what they are, how they really work under the hood, and the critical downsides you need to be aware of before you commit. More importantly, we’ll show you the powerful alternatives that professionals often use, giving you a complete roadmap to decide which path is truly the right one for your project, your budget, and your long-term goals.
What Exactly Are Page Builder Apps
A page builder app is a tool that lets you create stunning webpages without having to write a single line of code. The best way to think about it is like building with LEGOs. Instead of starting from scratch, you get a library of pre-made elements like buttons, banners, and forms. You simply drag and drop them into place, arranging your page visually in a live editor.
It’s an intuitive way to build a professional website, but they generally come in two different types:
1. Page Builders as Plugins or Apps: These builders operate inside an existing platform like WordPress (e.g., Elementor, Divi) or Shopify (e.g., PageFly, Shogun). They act as powerful add-ons that replace the platform’s basic editor with their own drag-and-drop interface. They rely on the host platform for core functions, saving all the pages you create directly into that system.
2. All-in-One Hosted Platforms: This category includes names like Wix, Squarespace, and Webflow. These are complete, self-contained solutions that bundle everything you need: hosting, the domain, the editor, and a CMS. The page builder is a core part of the service, offering a seamless and user-friendly experience right from the start, though sometimes with a bit less technical freedom than plugins.
In this article, we are talking about the first kind, page builders as plugins or apps.
How Do Page Builders Actually Work?
So, what’s happening behind the scenes when you drag a button into place and hit “Save”? It might seem like magic, but there’s a straightforward process that turns your visual design into a functional webpage. Understanding this is key before we dive into the pros and cons.
- Your Design Becomes a Blueprint: When you hit “Save,” the page builder converts your visual layout into a clean set of instructions, usually in a data format called
JSON. This file acts as the blueprint for your page, detailing the position and style of every single element. - The Server Reads the Blueprint: When someone visits your page, the server fetches this
JSONblueprint and quickly reads (or “parses”) all the instructions for how the page needs to be constructed. - The Page is Assembled and Sent: With the instructions from the blueprint, the server dynamically assembles the final webpage. It translates the
JSONdata into the three core languages of the web:HTMLfor the page’s structure,CSSfor all the styling (colors, fonts, layout), andJavaScriptfor any interactive features. This fully-formed page is then sent across the internet to the visitor’s browser, where it appears as the beautiful, functional page you designed.
The Hidden Downsides of Page Builders (Read Before You Commit)
Page builders sound like a dream come true, right? They promise to save you from years of learning to code or from hefty bills for hiring web developers. And for many, they deliver on that promise, which is why they’ve become so popular.
However, there’s another side to the story. I often see users discover the shortcomings of page builders only after they’ve already invested dozens of hours learning the tool and creating pages with it. By then, it can feel like it’s too late to turn back.
So, to make sure you’re going in with both eyes open, let’s honestly look at the limitations you need to consider before you decide to use one.
1. The Code Can Be Bloated and Slow
We’ve already touched on this, but it’s the most common complaint from web professionals. A developer writes clean, efficient code for a specific design. A page builder, on the other hand, has to generate code that can account for every possible option you might choose. This results in code that is often complex and bloated.
For example, to create a simple author bio box, a developer might write something clean like this:
<div class="author-box">
  <img src="avatar.jpg" alt="Author Name">
  <h3>Author Name</h3>
  <p>A short bio about the author...</p>
</div>
A page builder might generate something far more complex to handle all its drag-and-drop positioning and styling options:
<div class="pb-section">
  <div class="pb-row">
    <div class="pb-column">
      <div class="pb-widget-wrapper">
        <div class="pb-image-box">
          <div class="pb-image-container">...</div>
          <div class="pb-text-container">
            <h3 class="pb-title">...</h3>
            <div class="pb-description">...</div>
          </div>
        </div>
      </div>
    </div>
  </div>
</div>
This deep nesting of code is a classic sign of a page builder at work. The issue here is twofold. First, the complex structure can make it more difficult for search engine crawlers to efficiently parse the page and understand the hierarchy of your content. Second, all that extra code has to be loaded, which can slow down your page’s loading speed.
A slow page isn’t just annoying for visitors; it can also directly hurt your SEO rankings, as search engines like Google prioritize faster websites. As one developer on Reddit bluntly put it: “Page builders are why I can charge what I charge to fix people’s websites.”
2. Customization Has Its Limits
While page builders are flexible, they aren’t infinitely flexible. You’re always playing within their pre-defined rules.
- You’re Stuck in the “Box Model”: Page builders excel at creating classic, grid-based layouts where everything fits neatly into boxes. They can struggle when you want to create more artistic, unconventional designs with overlapping elements or unique, non-linear structures, but isn’t that why we need a page builder? Conventional page design can be easily done by picking a good website theme.
- Elements are “Black Boxes”: Each element—like an “Featured Collections,” “Testimonial,” or “FAQs”—is a pre-packaged unit. You can tweak the settings it offers, but you can’t change its fundamental structure. For instance, an “Image Box” widget might have a fixed order of “Image -> Title -> Description.” If you want the title above the image and the widget doesn’t offer that option, you’re stuck—unless you know how to write complex CSS to override it, , but it is highly unrecommended to write your code in this way.
3. They Can Conflict With Other Apps and Themes
A page builder isn’t a small plugin that just minds its own business. It’s a massive system that tries to take over the rendering and control of your pages. This can often lead to conflicts with other plugins or even your website’s theme, causing parts of your site to break.
Worse, if you ever decide to uninstall a page builder, it can leave behind a mess of leftover code and data in your database. While platforms are getting better at managing this—Shopify’s Online Store 2.0, for example, fundamentally improved how apps and themes interact—the risk of “code residue” and messy uninstalls still exists.
4. The Costs Add Up
While they seem cheaper than a developer upfront, most powerful page builders operate on a subscription model. You can expect to pay anywhere from $300 to over $1000 per year for a good one. This is a recurring fee you have to pay for as long as you want your pages to exist and function properly. Over several years, this can easily add up to more than the one-time fee you might have paid a professional to build those same pages.
5. Migrating Away Is a Nightmare (Vendor Lock-In)
This is the limitation most people discover way too late. Let’s say one day you’ve had enough of your page builder’s limitations, subscription fees, or performance issues. You decide to switch to a different builder or go with a custom-coded solution.
You’ll quickly find that there’s no “export” button. Page builders do not offer a way to migrate your designs. Your pages are locked into their system. The only way to move is to manually rebuild every single page from scratch. This “vendor lock-in” is a huge hidden cost in terms of time and effort.
Beyond the Builder: Three Powerful Alternatives I Recommend
The biggest reason for not using a page builder is simple: there are better alternatives. While some of these options might cost more money upfront, they are generally designed to save you time, headaches, and money in the long run. The learning curve may seem difficult at the beginning, but with a little focus, these tools and methods are surprisingly easy to learn.
Let’s have a look now:
1. Go Pro with a Visual Canvas: Use Webflow
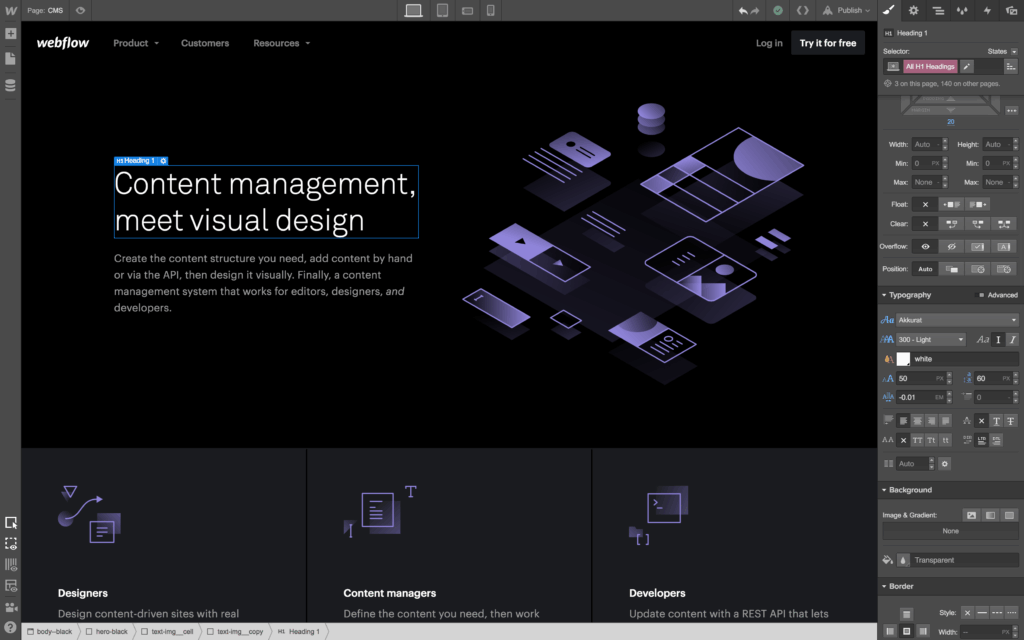
Webflow is a visual development platform that lets you design on a canvas and translates your work into clean HTML, CSS, and JavaScript in the background. This unique “design-first” approach gives you the power of code without having to write it, offering a distinct edge for creating custom pages.
The Advantages
- Total Design Freedom: You get granular, pixel-perfect control over every element. This allows you to build unique, responsive layouts with complex animations and interactions that are difficult to achieve in more rigid builders.
- Clean Code: Webflow exports clean, semantic code that is fast-loading and SEO-friendly, avoiding the bloat often associated with traditional page builders.
- Code Ownership and Portability: Once you export the project, you have the raw HTML, CSS, and JavaScript files. This means you fully own the code and are no longer locked into the Webflow platform. You can modify it as needed or migrate your page to any hosting provider simply by moving the files.
- One-Time Cost: While Webflow is a subscription service, its pricing is consolidated. To use the code export feature, Webflow requires a paid Workspace plan. However, the key advantage for this workflow is that you don’t need to maintain the subscription long-term. You can subscribe to a plan for the time you are building, export your finished project’s code, and then you are free to cancel the plan.
Who is Webflow for
It’s perfect for designers who want to bring their visions to life, startups needing a high-performance marketing site, and anyone who feels creatively limited by the “boxed-in” nature of other tools.
How to Integrate a Webflow Page into WordPress or Shopify
This workflow involves designing in Webflow and exporting the code to use on your platform.
Before You Start:
- Design Your Page: Design your page as you want in Webflow. Unless you know how to manually assemble the code to make it work with your final platform, you must avoid Webflow-native features like its CMS, E-commerce, or forms, as these rely on Webflow’s backend and won’t transfer.
- Export Your Code: You will need a paid Webflow plan to use the code export feature (It’s worth noting that students and educators can apply for a free plan). In your project, click Export Code and download the ZIP file.
For WordPress
Method 1: The Easy Way (Using a Plugin)
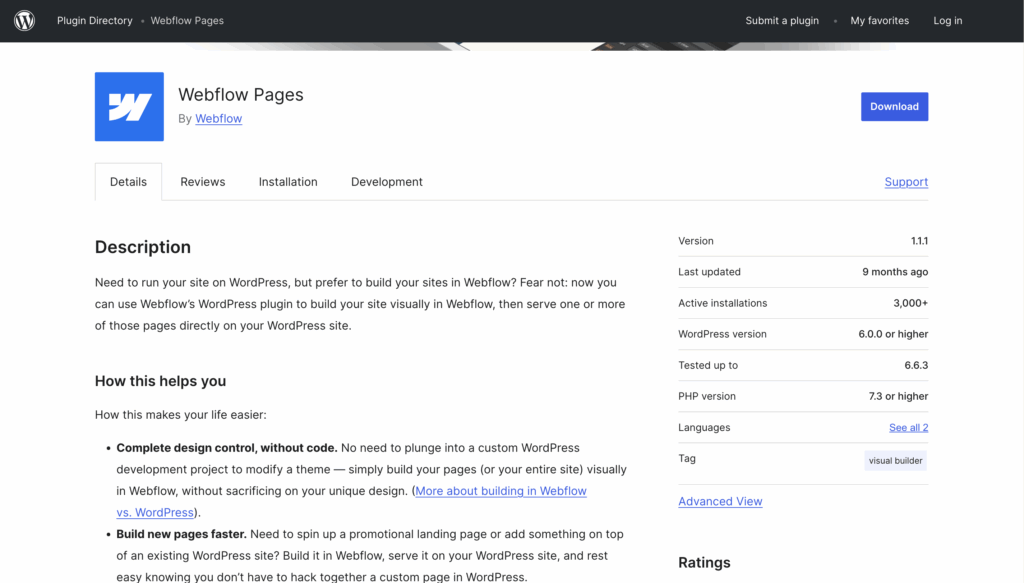
The simplest method is to use the official Webflow Pages plugin for WordPress. You design in Webflow, connect the plugin to your Webflow account, and you can then choose to replace any WordPress page with a page from your Webflow project, no code required.
Method 2: The Manual Way (Custom Template)
For more control, you can create a custom page template.
- Create a Template File: Using your hosting file manager, navigate to your active theme’s folder (
wp-content/themes/your-theme-name/). Create a new PHP file (e.g.,template-webflow.php). - Add the Template Header: Paste this code at the very top of the file to make it recognizable by WordPress: <
?php /* Template Name: Webflow Custom Page */ ?> - Add Your Webflow HTML: Paste the entire content of your exported HTML file below the header.
- Upload Assets: Upload the
cssandjsfolders from your Webflow export into your theme’s main folder. - Correct File Paths: In your template file, you must update the paths to your CSS and JS files. Find the
hrefandsrcpaths and prefix them with a PHP function. Note: The exact filenames in your code might be different from the example.- CSS: Change
<link href="css/styles.css" ...>to<link href="<?php echo get_template_directory_uri(); ?>/css/styles.css" ...> - JS: Change
<script src="js/webflow.js" ...>to<script src="<?php echo get_template_directory_uri(); ?>/js/webflow.js" ...>
- CSS: Change
- Assign the Template: In the WordPress editor for any page, find the Template dropdown in the “Page Attributes” panel and select “Webflow Custom Page.”
For Shopify
This method involves adding your Webflow code as a custom page template within your Shopify theme.
- Navigate to Theme Code: In your Shopify admin, go to Online Store > Themes. Click the three-dots icon on your theme and select Edit code.
- Create a New Page Template: In the
Templatesdirectory, click Add a new template. Selectpageas the type and give it a unique name, likecustom-landing-page. - Paste Webflow HTML: Open the new
page.custom-landing-page.liquidfile, delete its contents, and paste in the entire code from your exported Webflow HTML file. - Upload CSS and JS: In the
Assetsdirectory, click Add a new asset and upload your CSS and JS files from the Webflow export one by one. - Link CSS and JS: Go back to your
.liquidfile and update the file paths using Shopify’s Liquid syntax so the theme can find them.- For CSS: Find
<link href="css/your-stylesheet.css" ... >and replace it with:{{ 'your-stylesheet.css' | asset_url | stylesheet_tag }} - For JS: Find
<script src="js/your-script.js" ... >and replace it with:{{ 'your-script.js' | asset_url | script_tag }}
- For CSS: Find
- Assign the Template: In Online Store > Pages, create or edit a page. In the Theme template dropdown on the right, select your new “custom-landing-page” template and save.
Important Considerations for Using Webflow:
- Static Content: The imported page is static. To use dynamic Shopify elements, you would need to manually add the corresponding Liquid code into your template.
- Forms: Webflow forms won’t work. You’ll need to either replace them with a Shopify contact form’s code or use a third-party service.
- Maintenance: To update the design, you must repeat the entire export and copy-paste process.
As you can see, this alternative involves some light code adjustments. If you are not comfortable with that, this approach may not be for you. However, learning to navigate these basic file structures is a very helpful skill for managing any website in the long run.
2. Master the Foundation: Pick a Great Website Theme
This might sound counterintuitive, but sometimes the best approach is to lean into simplicity. Instead of using a builder to create a layout from scratch, you can start with a well-built, high-quality theme and work within its thoughtful design.
How to Pick a Theme That’s Highly Flexible for Customization
- Look for Strong Section & Block Variety: A flexible theme will offer a wide range of pre-built sections (Image galleries, testimonials, FAQs, etc.) and blocks that you can add, remove, and reorder. Check the theme’s details to see how many different layouts you can create with its built-in options.
- Prioritize a Clean, Minimalist Base: A theme with a simple, elegant design is often more flexible than one packed with flashy effects. A clean foundation gives you a better canvas to add your own branding and content without fighting against the theme’s opinionated styling.
- Verify It’s an Online Store 2.0 Theme (for Shopify): This is non-negotiable for Shopify users. OS 2.0 themes allow you to add sections to every page (not just the homepage), giving you modular control that dramatically reduces the need for a page builder.
The Advantage
This path is often the fastest and most stable way to get a professional-looking site online. A high-quality premium theme typically costs between $180 – $350, a one-time purchase that provides a solid, expertly crafted foundation for your business.
3. Call in the Experts: Hire a Professional or Agency

Finally, there’s the option of letting a professional handle it all. While this seems like the most expensive route, it’s crucial to understand what you’re paying for.
What you’re really paying for:
You aren’t just paying someone to click around a page builder for you. You are investing in expertise. This includes:
- Professional Web Design: A designer understands user experience (UX), color theory, typography, and conversion strategy. They build a site that not only looks good but also achieves your business goals.
- Clean, Custom Code: A developer will build a theme from scratch that is perfectly tailored to your design and needs, ensuring it’s blazing fast and easy to manage.
- Strategy and Peace of Mind: An agency can help with the entire process, from initial strategy to launch and ongoing maintenance.
The cost can vary wildly. A freelance designer/web developer might build a custom page for a few hundred dollars. A full-service agency working on a full website will generally start around $15,000 and can range to $50,000+ for more complex projects with more features.
Yes, the price tag is higher, but you are buying a bespoke, high-performance asset for your business. For established businesses or those serious about online growth, the return on this investment is often massive. And since this is often a one-time project fee, a custom-built site can actually be the cheaper option in the long run, saving you from the recurring costs of apps, plugins, and redesigns.
Final Thoughts
Of course, many users would argue that page builders are incredibly helpful for merchants and startups on a limited budget. This is absolutely true; they have democratized web design and enabled countless businesses to get online without huge upfront costs. However, from what I can see, page builders still have significant room for improvement, especially when it comes to performance and long-term flexibility. By understanding the hidden costs and the powerful alternatives available, merchants can now make that choice with confidence, ensuring you pay for what you expect.